Mastering the Art of Dust 2: Essential Tips and Strategies
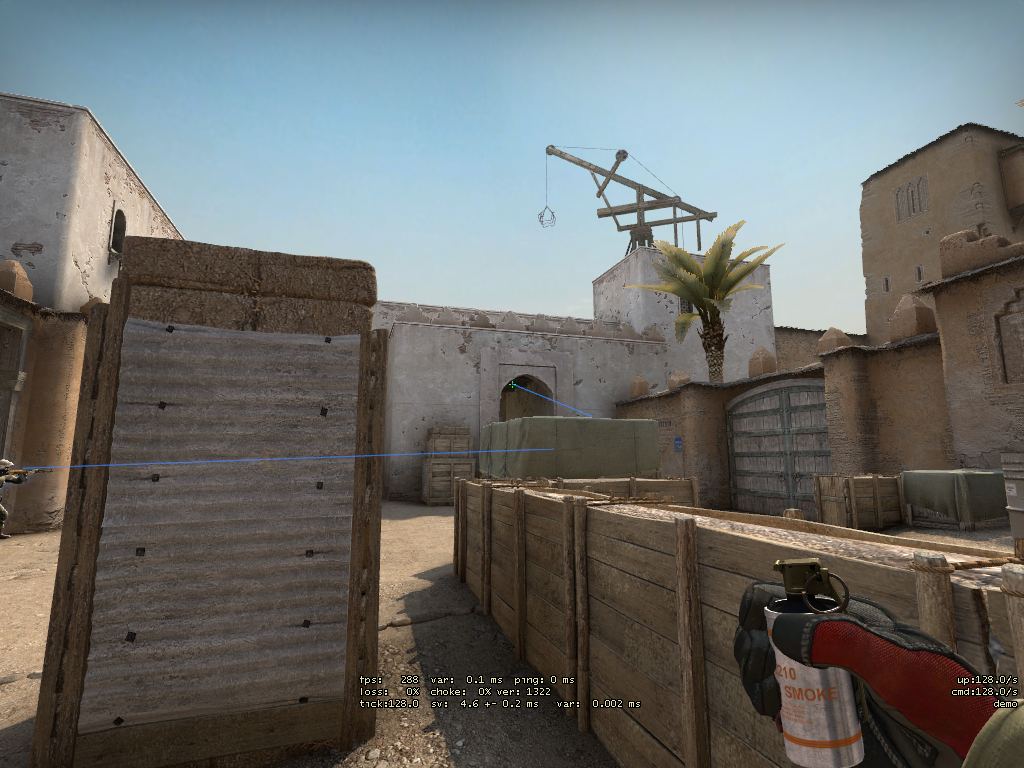
Mastering the Art of Dust 2 in Counter-Strike involves understanding its map layout and strategically utilizing the environment to your advantage. This iconic map features two bomb sites, A and B, which each present unique challenges and opportunities. Begin by familiarizing yourself with key locations such as Mid, Long, and Catwalk. Knowing the most efficient routes and common hiding spots can give you the upper hand in crucial firefights. A great tactic is to practice your grenade throws—smokes and flashes can dramatically change the flow of the game, aiding in both offensive and defensive plays.
Moreover, communication and teamwork are vital components when playing on Dust 2. Here are a few essential strategies to consider:
- Positioning: Always be aware of your teammates' locations and avoid clustering together.
- Economy Management: Managing your team's economy strategically can help secure advantageous weaponry and equipment for critical rounds.
- Callouts: Use precise callouts for areas on Dust 2 to enhance communication and ensure everyone knows enemy positions.
Counter-Strike is a highly popular multiplayer first-person shooter game that emphasizes teamwork and strategy. Players can engage in various game modes, and a common interest among players is to kick bots to enhance gameplay experience and reduce unskilled distractions.
The Ultimate Guide to Dust 2 Callouts: Navigate Like a Pro
In the world of Counter-Strike: Global Offensive, mastering Dust 2 callouts is essential for effective communication and gameplay. This classic map is not just known for its iconic design but also for its complex layout that requires players to navigate strategically. To truly enhance your gameplay, understanding the specific areas of Dust 2 is crucial. Here’s a quick overview of key callouts that you should memorize:
- Long A: The long pathway leading to A site.
- Short A: The shorter approach to A site.
- B Site: The bomb site located on the lower level.
- Catwalk: The elevated area leading to A site.
- Mid: The center of the map, crucial for controlling map flow.
Utilizing these Dust 2 callouts not only improves your gameplay but also enhances team coordination. Each player knowing and using the same terminology helps in reducing confusion during critical moments. Remember to practice these callouts regularly—repetition is key to becoming second nature. As you familiarize yourself with Dust 2, you’ll find that effective communication can turn the tide of battle. Keep this guide handy and make it a point to review these callouts before your next match!
Common Dust 2 Mistakes: What Every Player Should Avoid
In the competitive landscape of Dust 2, players often make common mistakes that can hinder their performance. One of the most prevalent errors is neglecting map control. Failing to secure critical areas like Mid and Catwalk not only puts your team at a disadvantage but also allows the enemy to dictate the pace of the game. To avoid this, consistently coordinate with your teammates to establish presence in key zones, maintaining situational awareness to adapt to the enemy’s strategies.
Another mistake players frequently make is overcommitting to engagements. Whether it’s rushing into a bomb site or sticking around for that final frag, this can lead to unnecessary deaths and disruption of your team’s economy. It's essential to practice disciplined play, knowing when to fallback or to rotate instead of forcing fights. Remember, sometimes playing smart is more critical than playing aggressively; securing the win is always more important than making highlight reels.