Top 10 Strategies to Dominate Dust 2: Essential Tips for Every Player
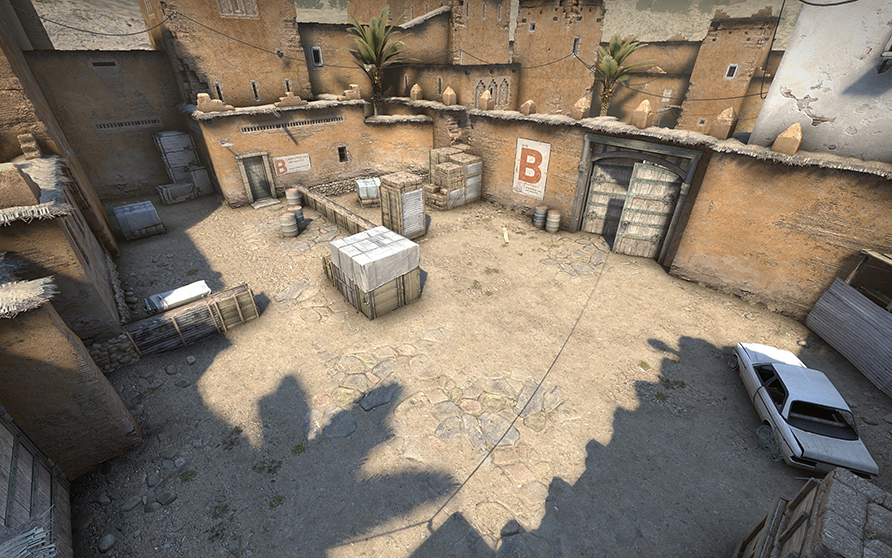
Dust 2 is one of the most iconic maps in Counter-Strike: Global Offensive, and mastering it requires a mix of tactical prowess and familiarity with its layout. Here are the Top 10 Strategies to Dominate Dust 2. First, understanding the map's callouts is essential; knowing the names of key locations like Long A, Catwalk, and B Site can drastically improve communication with your team. Second, leverage the power of smoke grenades: effectively smoking off crucial sightlines can allow your team to take control of bomb sites with minimal risk.
Another vital strategy is to always check your corners and play off angles. This can catch enemies by surprise, especially in high-traffic areas like Mid. Use sound cues to your advantage; listen for footsteps and reload noises to anticipate enemy movements. Additionally, practicing your aim in aim maps can enhance your shooting accuracy, which is critical on Dust 2. Lastly, do not underestimate the importance of teamwork: coordinating your strategies and sharing information about enemy locations can lead to significant advantages. Follow these tips, and you'll find yourself dominating Dust 2 in no time!
Counter-Strike has long been a staple in the world of competitive online gaming, captivating players with its strategic gameplay and teamwork. For those looking to improve their skills, there are numerous CS2 Challenges that can help players refine their techniques and tactics. With each iteration, the game continues to evolve, bringing new maps and modes to keep the experience fresh.
Understanding Dust 2 Callouts: Mastering Communication for Victory
Understanding Dust 2 callouts is essential for any team looking to dominate in the iconic map of Counter-Strike: Global Offensive. Effective communication often separates winning teams from the rest, so knowing the right terms can significantly impact your gameplay. Each area of Dust 2 has a distinct name; for example, commonly referred to spots include Long A, Catwalk, and B Tunnels. By utilizing these callouts consistently, you ensure your teammates are on the same page, allowing for better strategy execution and coordinated attacks.
When practicing Dust 2 callouts, it is helpful to create a communication protocol within your team. You can even use a callouts map as a reference to reinforce the terms. For example, when you spot an enemy player, you might say, “One at Long A” or “Two pushing B Tunnels”, which helps your teammates react appropriately. Mastering these callouts leads to seamless coordination and can turn the tide of a match, ensuring that you and your team have the upper hand in critical moments.
What Are the Best Weapon Choices for Every Position on Dust 2?
In the iconic map of Dust 2, choosing the right weapon for each player position is crucial for maximizing team effectiveness. Here’s a breakdown of the best weapon choices based on the common roles:
- AWPer: The AWP (Arctic Warfare Police) is undoubtedly the best choice for the AWPer. This sniper rifle excels at long-range engagements, particularly at key locations like Long A and Mid. Players should aim to hold angles and pick off opponents with high precision.
- Entry Fragger: An AK-47 or an M4A4 is ideal for entry fraggers. The AK-47 offers a lethal combination of power and accuracy, essential for taking down opponents quickly when rushing sites. Meanwhile, the M4A4 provides a reliable choice for defenders who need to engage enemies at close to medium range.
For the Support and Clutch positions, weapon choice can greatly influence the outcome of a round. Support players should consider the M4A1-S for its silencer, allowing for stealthy plays that can catch enemies off-guard. On the other hand, players in clutch scenarios should opt for a Desert Eagle or an AK-47, as these weapons can deliver high damage per shot and are effective for one-on-one situations. Proper weapon selection, combined with strategic positioning, can make a significant impact on your team's performance in Dust 2.